


Page Contents
How to Apply Blush
Applying blush is an important step in creating a polished makeup look. When used correctly, blush can brighten up the complexion, add warmth and color to the cheeks, and enhance facial features. From picking the right shade to perfecting application technique, here is a step-by-step guide on how to apply blush.
Steps on How to Apply Blush
-
Prep your skin
Start with a clean face and moisturizer so the blush glides on smoothly. Make sure to apply primer before foundation for longer staying power.
-
Buy Now Apply foundation first
Foundation, concealer, and powder should be applied before blush for seamless layering and blending.
-
Choose a flattering blush shade
Consider your skin undertone when picking a blush shade. Warm, peachy shades complement warm undertones. Cool pink or berry shades suit cool undertones. Neutral or coral shades work for most.
-
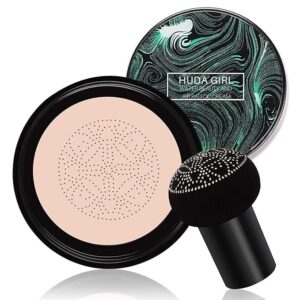
Use the right type of blush
Cream or liquid blushes give a dewy, natural flush. Powder blushes make application easier. Go for a formula that works for your skin type.
-
Smile to find the apples of your cheeks
Before applying, smile wide to make your cheekbones pop. This exposes the round, full part known as the apples.
-
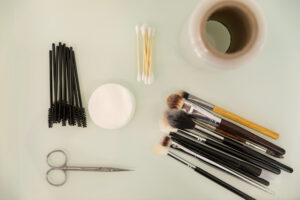
Load blush onto a brush
Buy Now For powder blush, swirl a soft brush into the product and tap off excess. For cream/liquid blush use a stippling brush or fingers.
-
Start application on the apples
Sweep blush onto the fullest part of the cheeks in a soft circular motion using short strokes that mimic a natural flush.
-
Blend outward and upward
Use gentle, feather-like strokes to blend color towards the hairline and temples. Avoid applying heavily on the cheekbones.
-
Customize for your face shape
- Heart face shape: Sweep blush along upper cheekbones instead of apples.
- Round face shape: Focus color on the upper cheekbones also, avoid the lower half of cheeks.
- Square face shape: Take blush onto the temples and foreheads for softening effect.
-
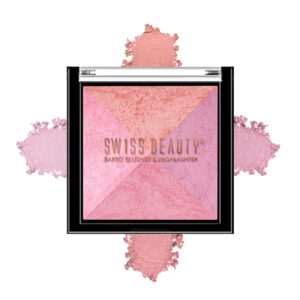
Use highlighter strategically
Add highlighter on top of blush on the upper cheekbones. Fan outwards towards temples. This technique slims and chiseled facial features.
-
Set makeup with finishing spray
Once your cheeks have that perfect flush, set makeup with a mist of finishing spray for up to 16 hours of smudge-free wear.
FAQs about How to Apply Blush
What type of brush is best to apply blush?
A tapered blush brush with soft, evenly-cut bristles works best to pick up and distribute cheek color. Look for one shaped to contour the apples of the cheeks.
How do you keep blush from fading quickly?
Use oil-free moisturizer and primer before foundation, then set makeup with powder and spray. This creates a smooth base for long-wearing blush application.
Can you wear blush if you have acne-prone skin?
Yes, using non-comedogenic formulas made specifically for sensitive skin. Apply only to areas free from breakouts using a clean blush brush.
What if you accidentally apply too much blush?
If blush looks too vivid or overdone, take a small brush with face powder and use featherlight strokes over the edges to soften and tone down intensity.
Wrapping it Up
Applying blush may seem intimidating, but following these 11 steps to perfect blush application will allow you to achieve a flawless, professional flush. Strategically brush on blush using a tapered brush, concentrate color on the apples of the cheeks, and blend upwards and outwards for a natural look. Choose shades that complement your skin tone and face shape for gorgeous dimension. No makeup routine is complete without a pop of cheek color, so add this essential step using the techniques provided. With practice, you’ll be highlighting your best features with a healthy glow and wearable warmth. Say goodbye to lackluster cheeks, and hello to radiant confidence!