


Page Contents
My Journey to Perfect Contour: Tips and Tricks
If there’s one beauty trend that has taken the world by storm, it’s contouring. When I first started experimenting with makeup, contouring seemed daunting. The idea of chiseling out my cheekbones or defining my nose seemed like a task best left to the professionals. But with time, practice, and a few key products, I’ve learned how to achieve the perfect contour that enhances my features in the most natural way. Here’s a rundown of my journey, the lessons I’ve learned, and the products I swear by.
1. Understanding Your Face Shape
Before diving into the world of contouring, the first step is to understand your face shape. Whether your face is oval, round, square, or heart-shaped, the way you contour will differ. Knowing where to add shadows and highlights can make a huge difference in achieving a balanced and natural look.
For example:
- Round Faces: Contour along the temples, under the cheekbones, and the jawline to create the illusion of an oval shape.
- Square Faces: Soften the angles by contouring the sides of the forehead and along the jawline.
- Heart-Shaped Faces: Focus on contouring the sides of the forehead and the area under the cheekbones.
2. Choosing the Right Contour Products
Finding the right products was a game-changer for me. I’ve tried various creams, powders, and sticks, but here’s what I found works best:
A. Cream Contours
Cream contours are excellent for a natural, dewy finish. They blend seamlessly into the skin, which is perfect if you’re going for a subtle look.
Product Recommendation:
The Nykaa Contour & Highlight Duo Stick is a fantastic option. It’s easy to apply, blends well, and has a creamy texture that doesn’t feel heavy on the skin.
B. Powder Contours
Powder contours are ideal if you’re looking for a more defined, matte finish. They’re also great for setting cream contours, adding a bit more dimension to your look.
Product Recommendation:
The Sugar Cosmetics Contour De Force Mini Bronzer is one of my favorites. It has a smooth texture, is easy to blend, and gives a beautiful, natural shadow.
C. Contour Palettes
If you’re looking for versatility, contour palettes are your best friend. They usually come with multiple shades, so you can mix and match to find the perfect tone for your skin.
Product Recommendation:
The Maybelline New York Master Contour Face Contouring Kit is a great all-in-one option. It includes a contour shade, highlighter, and blush, making it perfect for travel or quick touch-ups.
3. The Application Process
Here’s where the magic happens. Application techniques can make or break your contour, so it’s important to get this right.
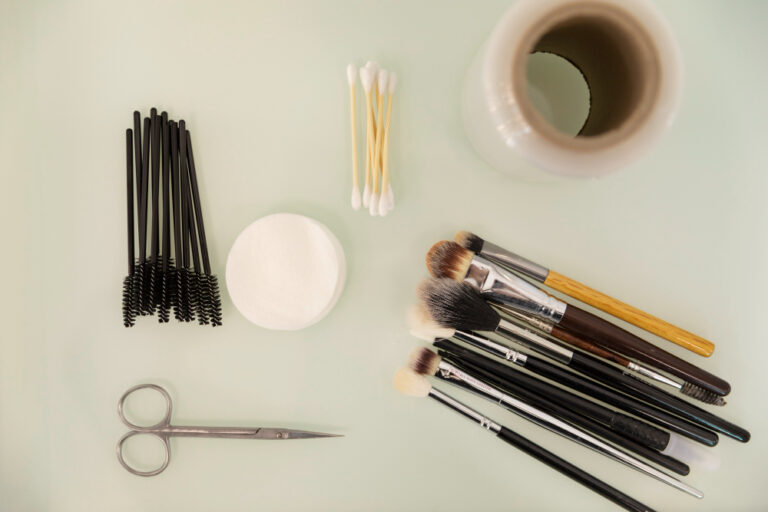
A. Tools Matter
Using the right tools is crucial. I recommend having a good set of brushes and a blending sponge.
- Contour Brush: A brush with an angled edge helps to precisely apply the product under the cheekbones and along the jawline.
- Blending Sponge: A damp beauty sponge works wonders in blending the contour into the skin, making it look seamless and natural.
Product Recommendation:
The Real Techniques Sculpting Brush Set is excellent for contouring. The brushes are soft, durable, and perfect for applying both cream and powder products.
B. Placement and Blending
Start by applying the contour product in the hollows of your cheeks (just below the cheekbones), along the hairline, and under the jawline. For a slimmer nose, apply contour on the sides of the nose and blend well.
The key is to blend, blend, and blend some more! Harsh lines can make the contour look unnatural, so take your time to ensure everything is seamlessly blended into your skin.
4. Highlighting for the Perfect Balance
Contouring alone can sometimes look a bit flat. To balance it out, highlighting the high points of your face is essential.
A. Where to Highlight
- Cheekbones: Apply highlighter on the tops of your cheekbones to enhance the contour.
- Bridge of the Nose: A small amount down the bridge of your nose can help make it look straighter and more defined.
- Cupid’s Bow: Adding a touch of highlighter here can make your lips appear fuller.
Product Recommendation:
The Wet n Wild MegaGlo Highlighting Powder is affordable and delivers a stunning glow that complements any contour look.
5. Setting Your Contour
To ensure your contour stays put all day, setting it with a translucent powder is a must. This step locks everything in place and helps reduce shine.
Product Recommendation:
The Lakmé 9 to 5 Naturale Finishing Powder on Flipkart is lightweight and perfect for setting your makeup without adding any extra color.
FAQs About Contouring
Q1. Can I contour without a contour kit?
A1. Yes, you can use a darker shade of foundation or bronzer to contour. Just make sure to blend well.
Q2. How do I choose the right contour shade?
A2. Choose a contour shade that is 2-3 shades darker than your natural skin tone. If you have cool undertones, opt for a contour with a cool or neutral base. Warm undertones work best with warmer contour shades.
Q3. How often should I replace my contour products?
A3. Cream and liquid products should be replaced every 6-12 months, while powders can last up to 2 years. Always check the expiration date on the product packaging.
Q4. Can I contour my face every day?
A4. Yes, but for everyday looks, go for a subtle contour to enhance your natural features rather than a dramatic look.
Wrapping It Up
Mastering the art of contouring takes time and practice, but with the right products and techniques, it’s definitely achievable. Whether you’re a makeup novice or a seasoned pro, the key is to start with the basics and build up from there. Remember, the goal of contouring is to enhance your natural beauty, not mask it.
Ready to give contouring a try? Grab your favorite products and start experimenting. With patience and practice, you’ll be a contouring queen in no time!