Creating your own stickers
Page Contents
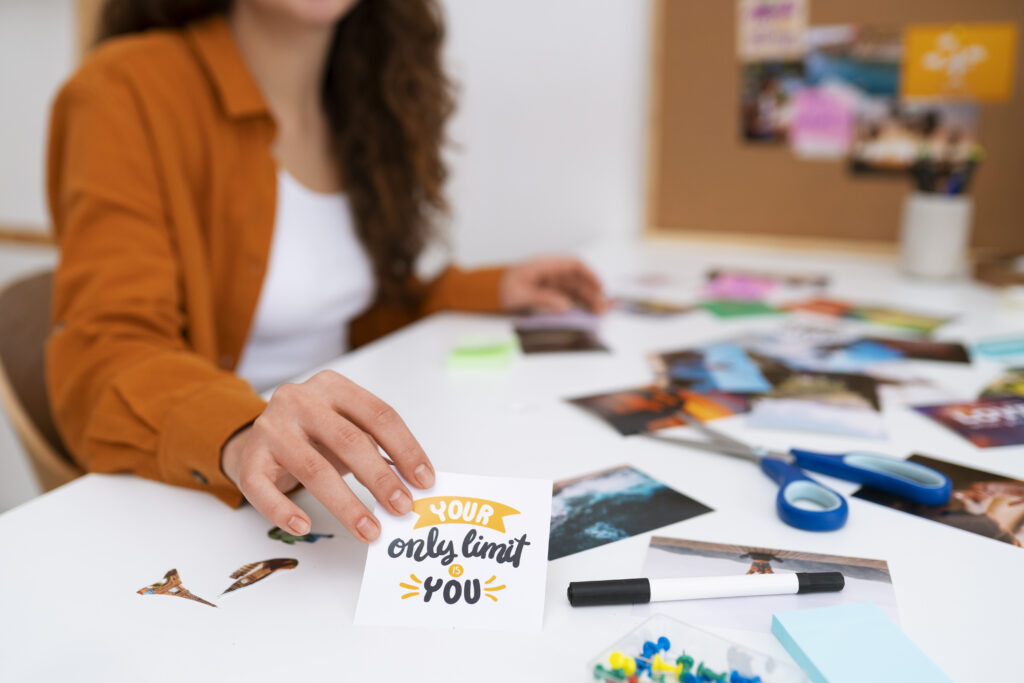
Creating your own stickers is a fun and creative way to personalize your belongings or share your unique designs with others. In this guide, we’ll explore the step-by-step process of making stickers from scratch.
Design Your Sticker: Start by conceptualizing your sticker design. This could be a custom illustration, a digital artwork, a photograph, or any image you’d like to turn into a sticker. Ensure that your design is clear, visually appealing, and suitable for the intended purpose. You can use graphic design software like Adobe Illustrator, CorelDRAW, or free alternatives like GIMP and Inkscape to create your design.
Prepare Your Materials: To start Creating your own stickers , you’ll need some essential materials:
- Sticker Paper: Purchase sticker paper sheets, which are adhesive-backed and specially designed for printing stickers. You can find these at office supply stores or online.
- Printer: Use an inkjet or laser printer, depending on the type of sticker paper you’ve chosen.
- Design Software: Use graphic design software to edit and format your sticker design.
- Cutting Tools: Scissors, a craft knife, or a sticker cutting machine like a Cricut or Silhouette can be used to cut out your stickers.
- Computer: You’ll need a computer to access your design software and send the design to your printer.
Design Preparation: In your design software, create a new document with the dimensions that match your sticker paper. Import your design and arrange it as needed. Remember to mirror your design if you’re using adhesive-backed paper and printing on the backside.
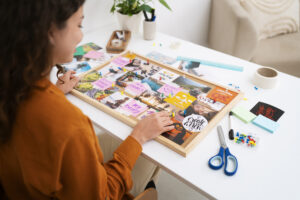
Printing: Load a sheet of sticker paper into your printer. Ensure that your printer settings are set to the appropriate paper type (usually “photo paper” or “sticker paper”) and that you’ve selected the highest quality print settings. Print a test page on regular paper to ensure the colors and alignment are as desired before printing on the sticker paper. Once satisfied, proceed to print your sticker design.
Drying Time: Allow the printed sticker sheet to dry completely. The drying time may vary depending on the type of ink and paper used, so consult the manufacturer’s instructions.
Cutting: After the sticker sheet is dry, carefully cut out your stickers using scissors, a craft knife, or a sticker cutting machine. Take your time to ensure clean and precise cuts. If using a cutting machine, follow the machine’s instructions for loading and cutting.
Peel and Stick: Once your stickers are cut out, peel off the backing paper to reveal the adhesive side of the stickers. Be cautious while doing this to prevent any damage to the stickers. Now, your stickers are ready to be applied to various surfaces like laptops, water bottles, notebooks, and more.
Storage and Use: Store your stickers in a cool, dry place to maintain their quality. When applying stickers to surfaces, make sure the surface is clean and dry for the best adhesion. Avoid exposing your stickers to extreme temperatures or moisture, as this can affect their durability.
Sharing and Enjoying: Share your stickers with friends, family, or even consider selling them online through platforms like Etsy or at local craft fairs. Stickers can be a great way to express your creativity and even generate some income.
Experiment and Improve: Don’t be afraid to experiment with different designs, printing techniques, and materials. As you gain experience, you can refine your sticker-making process and create unique, eye-catching stickers that reflect your personal style.
In conclusion, Creating your own stickers is an enjoyable and rewarding creative endeavor. By following the steps outlined above and continuously refining your skills, you can produce high-quality stickers that express your unique vision and style. Whether you’re designing stickers for personal use or to share with others, the possibilities are endless, and the process can be a source of endless creative satisfaction.
